Are you staring at your Starlink dish wondering why your internet is acting up again? Don’t worry – you’re not alone. As someone who’s dealt with his fair share of starlink problems, I’ve put together this comprehensive guide to help you troubleshoot your Starlink connection and get back online fast.
Starlink’s Unique Challenges: Why Issues Differ from Traditional ISPs
Let me tell you something about Starlink that blew my mind when I first got it – those little satellites zooming around Earth at 17,000 mph are constantly handing off your connection like a cosmic relay race! Pretty cool, right? But this amazing technology isn’t perfect, and that’s okay.
Starlink works differently than traditional internet services. Instead of cables running to your house, Starlink uses a network of Low Earth Orbit (LEO) satellites that communicate with your Starlink dish (affectionately known as “Dishy”) and ground stations. This technology is revolutionary but comes with its own unique set of challenges.
I remember setting up my Starlink system last year and thinking it would be smooth sailing forever. Then winter came, and so did my first troubleshooting adventure! That’s when I learned that knowing how to fix common Starlink problems is an essential skill for any user.
I’ll walk you through everything from basic troubleshooting steps to advanced optimization techniques that will have your Starlink internet connection running at its best. Let’s get started!
The Golden Rules: Essential First Steps Before You Troubleshoot
Rule #1: Always Check the Starlink App First!
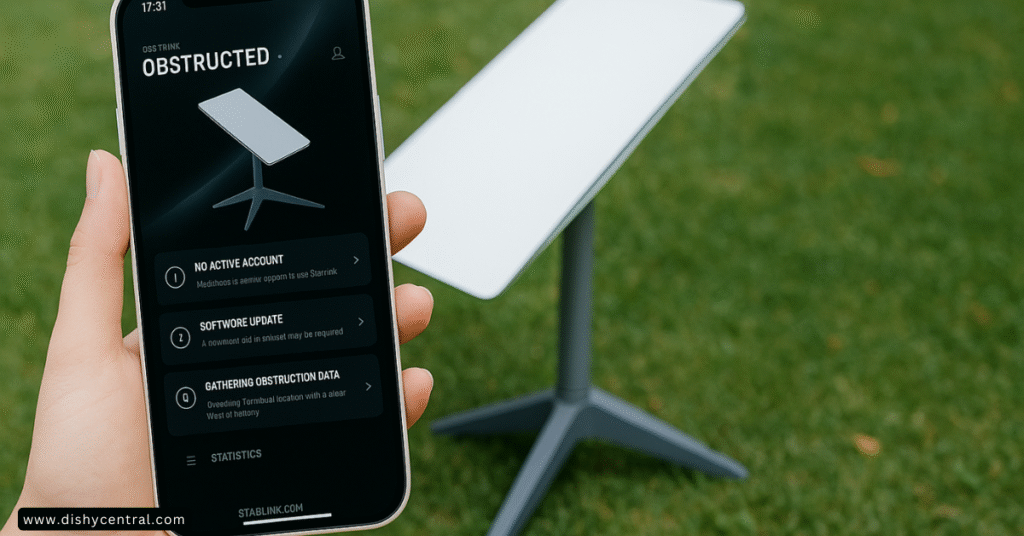
I can’t stress this enough – the official Starlink app is your best friend when troubleshooting. Before doing anything else, open the Starlink app and check your status. The app provides crucial information about your connection, including:
- Connection Status: Online, Offline, Booting, Obstructed, or Degraded
- Outage Notifications: Information about any known outages in your area
- Visibility Tool: Helps identify potential obstructions
- Performance Data: Graphs showing your latency and throughput
The Starlink app to check connection status should be your first step whenever you encounter issues. It’s like having a Starlink help center right in your pocket!

Rule #2: The Magic Reboot (Do It Right)
Have you tried turning it off and on again? This classic IT advice actually works wonders with Starlink equipment. A proper reboot clears temporary glitches and often resolves common Starlink issues without any further trouble.
However, there’s a right way to power cycle your Starlink system:
- Unplug the Starlink router first
- Unplug the Starlink dish (wait 30 seconds)
- Plug in the Starlink dish (wait 5-10 minutes for it to orient and connect)
- Plug in the router (wait 2-3 minutes)
- Reboot your connected devices
I learned this sequence the hard way after my Starlink stopped working during a storm. Just randomly unplugging things actually made the problem worse! Following this specific order gives your system time to properly reset and reconnect to the satellite network.
Rule #3: Check All Physical Connections
It might seem obvious, but I can’t tell you how many times a loose cable connection has been the culprit behind Starlink network issues. Take a few minutes to:
- Inspect all Starlink cables for damage (look for pinches, chew marks, or bent pins)
- Ensure the Starlink cable is firmly seated at the dish, power supply, and router
- Check that power connections are secure
One summer, my internet suddenly went down, and I spent hours troubleshooting software issues. Turns out, my curious dog had been chewing on the Starlink cable! A quick cable replacement fixed everything.

Diagnosing & Solving Common Starlink Problems
Problem #1: Frequent Disconnects & Intermittent Service
Symptoms: Your internet drops randomly for short periods, videos buffer constantly, or calls keep dropping.
Causes: This common Starlink problem usually stems from obstructions, minor outages, firmware updates, weather issues, or loose cables.
Solutions:
- Check for Obstructions: Use the Starlink app’s visibility tool to identify potential obstacles. Remember that trees grow and seasonal changes matter!
- Look for Outages: Check the Starlink app for any notices about degraded service or minor outages.
- Inspect Cable Connections: Make sure all connections are firm and secure.
- Monitor Weather Patterns: Heavy rain, snow, or storms can affect your connection.
- Note Time of Day: Peak usage hours can sometimes show network congestion.
My neighbor was constantly complaining about his Starlink not working until he realized the tree in his yard had grown tall enough to create obstructions during windy days. Trimming a few branches solved his connectivity issues completely!
Problem #2: Complete Loss of Connection (Offline Status)
Symptoms: The Starlink app shows “Offline,” “Disconnected,” or remains in “Booting” status indefinitely.
Causes: Major Starlink outages, power issues, hardware failure (dish, router, cable), misaligned dish, or firmware problems.
Solutions:
- Confirm if there’s an Outage: Check the Starlink app, visit the Starlink help center, or check the unofficial Starlink status site.
- Power Cycle the System: Follow the reboot procedure outlined earlier.
- Check Your Power Source: Ensure the outlet is working and no breakers are tripped.
- Inspect for Cable Damage: Look closely at all Starlink cables.
- Use the “Stow” Feature: In the Starlink app, try to “Stow” then “Unstow” the dish to force realignment.
- Check Dish Alignment: Ensure the Starlink dish can move freely without obstructions.
- Factory Reset: As a last resort, you can factory reset the Starlink router and/or dish.
When my Starlink internet connection completely disappeared last winter, I panicked a bit. After checking the app, I discovered there was actually a regional outage. It’s time to contact Starlink support if none of these solutions work and your service remains down.
Problem #3: Slow Speeds (Poor Performance)
Symptoms: Websites load slowly, downloads take forever, and streaming quality is poor.
Causes: Obstructions, network congestion (either on the Starlink network or your local WiFi), WiFi interference, router issues, or reaching data caps.
Solutions:
- Run a Speed Test: Use the advanced test in the Starlink app or a third-party service like Ookla.
- Compare Wired vs. WiFi: If possible, use the Starlink Ethernet adapter to test wired connections.
- Check for Obstructions: Even minor obstructions can significantly impact speed.
- Optimize WiFi Setup:
- Reposition your Starlink router for better coverage
- Change WiFi channels to reduce interference
- Consider a Starlink mesh system for larger homes
- Reboot Everything: Sometimes a fresh start helps.
- Check Data Usage: If applicable to your plan.
I was frustrated with my slow Starlink internet speeds until I realized my router was placed next to my microwave! Moving it to a central location in my house dramatically improved performance.
Problem #4: High Latency & Ping Issues
Symptoms: Lag in online games, delays in video calls, and general responsiveness issues.
Causes: Satellite distance (inherent to Starlink), network congestion, routing paths, or local network issues.
Solutions:
- Understand Baseline Expectations: Starlink will never match fiber for latency, but it should still be very usable.
- Check the Latency Graph: The Starlink app shows your latency over time.
- Test Wired Connections: Eliminate WiFi as a potential cause.
- Close Background Applications: Some apps consume bandwidth silently.
- Check for Obstructions: These can cause packet loss and retransmissions.
- Consider Quality of Service Settings: If using your own router.
My son was complaining about lag in his games until we discovered multiple devices backing up photos in the background. Scheduling these backups for nighttime fixed his gaming experience!
Problem #5: Weather-Related Issues
Symptoms: Service degrades or drops during heavy rain, snow buildup, or high winds.
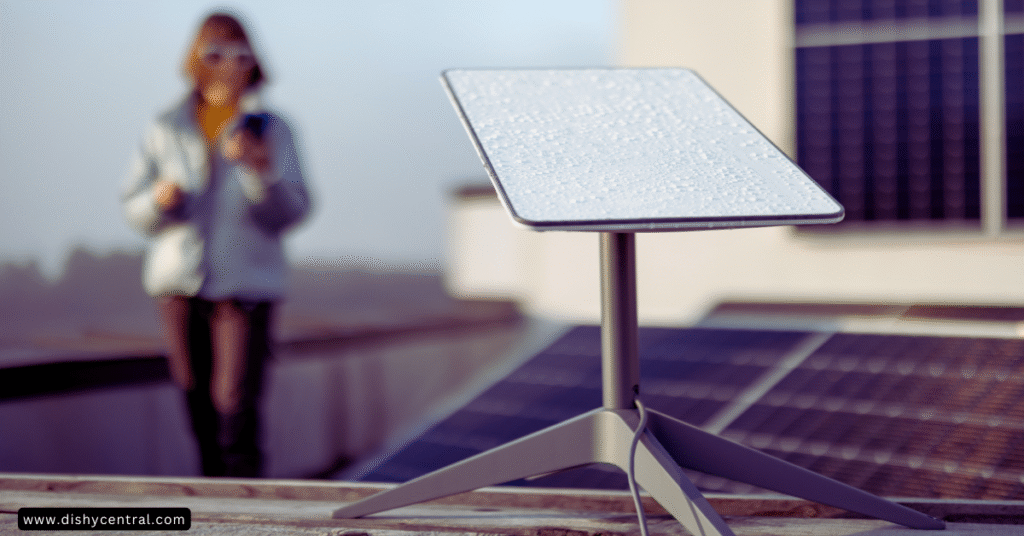
Causes: Signal attenuation from precipitation, physical obstruction from snow, or dish movement from wind.
Solutions:
- Understand the Limitations: Some weather effects are unavoidable with satellite internet service.
- Enable Snow Melt Feature: If applicable, use this feature in cold climates.
- Clear Snow Safely: If accessible and safe to do so.
- Secure Your Mount: Ensure the Starlink dish is mounted securely.
- Wait It Out: Sometimes, waiting for severe weather to pass is the only solution.
Living in the mountains, I’ve experienced my share of weather-related Starlink outages. I’ve learned to be patient during severe storms and to keep the snow melt feature enabled during winter.
Problem #6: Router & WiFi Specific Issues
Symptoms: Devices can’t connect to WiFi, weak signal in parts of your home, or conflicts with other devices.
Causes: Poor router placement, interference, outdated firmware, or mesh setup issues.
Solutions:
- Optimize Router Placement: Central location, away from obstacles and electronics.
- Use the Ethernet Adapter: For wired connections or custom routers.
- Consider a Mesh System: For larger homes (more on this in the optimization section).
- Check for Interference: Other networks, microwaves, Bluetooth devices.
- Split 2.4GHz and 5GHz Bands: If your router supports it.
Advanced Troubleshooting & Performance Optimization
Using the Starlink App Debug Data
The Starlink app provides valuable debug data that can help identify the root cause of issues:
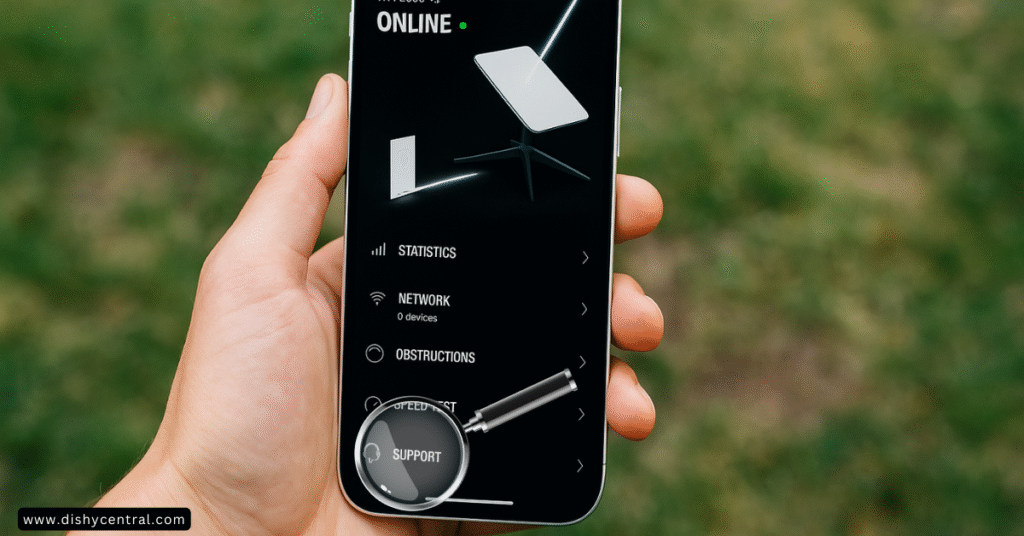
- In the app, tap Support > Advanced > Debug Data
- Look for key metrics like:
- Signal-to-Noise Ratio (SNR)
- Obstruction statistics
- Ping drop rate
These metrics provide deeper insights into your Starlink connection. Higher SNR values are better, and obstruction percentages should ideally be at 0%.
Optimizing Your Local WiFi Network
A strong Starlink internet connection means nothing if your local network is poorly configured:
- Router Placement Strategies:
- Central location in your home
- Elevated position (on a shelf rather than the floor)
- Away from other electronics and thick walls
- Using the Starlink Ethernet Adapter:
- Provides a wired connection option
- Allows use of custom routers
- More stable than WiFi for critical devices
- When to Use Starlink Mesh:
- Homes larger than 2,500 sq ft
- Multi-level buildings
- Properties with signal-blocking features
- Checking for WiFi Interference:
- Use WiFi analyzer apps to check for channel congestion
- Keep router away from microwaves, cordless phones, and Bluetooth devices
- Consider changing WiFi channels if interference is detected
I improved my Starlink WiFi connection dramatically by adding a mesh node in my office, which was previously a dead zone.
Bypassing the Starlink Router
Sometimes, you might want to use your own router with Starlink:
- Why Bypass:
- More features than the standard Starlink router
- Better WiFi coverage with high-end routers
- Advanced network management
- How to Enable Bypass Mode:
- Open the Starlink app
- Go to Settings > Network
- Toggle “Bypass Mode” on
- Connect your own router to the Starlink system
- Configuration Considerations:
- Set your router to obtain WAN settings via DHCP
- Consider IPv6 support if needed
- Adjust firewall settings appropriately
Understanding Firmware Updates
Starlink regularly pushes firmware updates to improve performance:
- Update Process:
- Completely automatic
- Usually happens overnight
- No user action required
- Potential Issues:
- Temporary connectivity disruptions during updates
- Occasional bugs in new firmware versions
- Checking Current Version:
- In the Starlink app, go to Settings > Advanced > Debug
- Look for firmware version numbers
After one particular firmware update, I noticed my Starlink system performing better in rainy conditions. These updates often bring noticeable improvements!
Proactive Measures & Best Practices
Optimal Dish Placement
Proper Starlink dish placement is crucial for reliable service:
- Consider Seasonal Changes:
- Trees with leaves in summer vs. bare in winter
- Snow accumulation areas
- Changing sun angles
- Long-term Planning:
- Consider future construction
- Tree growth
- Potential new obstructions
Always ensure your Starlink dish has a clear view of the sky, particularly to the north if you’re in the northern hemisphere.
Cable Management & Protection
Protecting your Starlink cable prevents many common issues:
- Bury or Secure Cables:
- Use conduit for buried cables
- Secure above-ground cables to prevent trips/damage
- Protect from lawn equipment
- Wildlife Protection:
- Use cable guards to prevent animal chewing
- Keep connections elevated when possible
- Weather Protection:
- Use drip loops to prevent water ingress
- Seal entry points into buildings
I learned the importance of cable protection after my lawnmower damaged my Starlink cable. Now I have it properly buried in conduit!
Regular App Checks
Proactive monitoring helps catch issues before they become problems:
- Weekly Status Checks:
- Check for new firmware
- Monitor for emerging obstructions
- Track performance trends
- After Weather Events:
- Check physical equipment
- Verify dish orientation
- Look for damage
Keeping Your Network Updated
Don’t forget about the rest of your network:
- Router Firmware:
- Keep custom routers updated
- Apply security patches
- Device Updates:
- Update computers, phones, smart devices
- Keep operating systems current
- Security Practices:
- Change default passwords
- Use strong WiFi encryption
- Enable firewall features
Understanding Your Plan’s Limitations
Be aware of any limitations on your specific Starlink service:
- Data Caps:
- Some plans have usage limits
- Monitor your usage in the app
- Peak Hour Policies:
- Service may be prioritized differently during congested periods
- Consider scheduling large downloads during off-peak hours
When All Else Fails: Contact Starlink Support
If you’ve tried everything and your issue persists, it’s time to contact Starlink customer support:

Information to Gather Before Contacting
- Account Details:
- Account number
- Service address
- Problem Description:
- When the issue started
- Exact symptoms
- Pattern or frequency
- Troubleshooting steps already tried
- Evidence:
- Debug data screenshots
- Photos of setup or damage
- Speed test results
How to Submit a Support Ticket
- Via Starlink App:
- Open the app
- Tap “Support”
- Tap “Create Ticket”
- Fill in required information
- Via Website:
- Log into your Starlink account
- Navigate to Support
- Select “Create Ticket”
What to Expect
- Response Times:
- Typically 1-3 business days
- Faster for complete outages
- Process:
- Initial automated response
- Follow-up questions possible
- Resolution or escalation
Community Resources
While waiting for official support, these resources can help:
- Reddit: r/Starlink community
- Facebook: Starlink user groups
- Forums: Satellite internet communities
Remember to use community advice with caution—what works for one Starlink user might not work for another due to hardware differences, location, and other factors.
Conclusion
Troubleshooting common Starlink issues doesn’t have to be frustrating. With this systematic approach, you can identify and fix most problems quickly:
- Start with the Starlink app – it’s your primary diagnostic tool
- Follow proper reboot procedures – order matters!
- Check physical connections – often the simplest explanation is the correct one
- Understand your environment – obstructions, weather, and interference all matter
- Optimize your setup – proper placement and configuration make a huge difference
Remember that Starlink, while revolutionary, is still satellite internet service with inherent limitations. With realistic expectations and the troubleshooting knowledge from this guide, you’ll be able to enjoy your Starlink connection with minimal interruptions.
I’ve been a Starlink user for over two years now, and despite the occasional hiccup, it’s been a game-changer for my rural lifestyle. The key has been learning how to quickly identify and fix issues when they arise.
Have you had any unique experiences troubleshooting your Starlink system? I’d love to hear about them in the comments below!


