
If you were one of the early adopters of Starlink, you probably have a love-hate relationship with that tall, white, geometric router sitting on your shelf. We call it the “Gen 2.” It looked futuristic, but it had a fatal flaw: no Ethernet ports. To plug in a simple computer, you had to buy a proprietary $25 dongle.
Enter the Starlink Gen 3 Router.
Released quietly alongside the new Standard Kit, this router flattens the design, adds Wi-Fi 6, and finally brings back the ports. But is it worth spending $199 to upgrade if your current system works fine? Or, if you are new to Starlink, is the stock router actually good enough to skip buying a third-party system like Eero or Orbi?
I’ve spent weeks testing the Gen 3 in real-world scenarios from congested smart homes to off-grid setups to bring you this review. We aren’t just looking at specs; we’re looking at how it changes your daily internet life.
🚀 Key Takeaways: The 30-Second Verdict
- The Speed Bump: Wi-Fi 6 makes local file transfers blazing fast, even if your satellite internet speed stays the same.
- The Port Fix: It includes two built-in Ethernet ports, saving you $25 on adapters and eliminating a common point of failure.
- The Range: Coverage is significantly better (approx. 3,500 sq. ft) thanks to Tri-Band technology.
- The “Mix & Match” Secret: You can use your old Gen 2 router as a mesh node for the Gen 3, but you must factory reset it first.
- Buy It If: You need better range, Ethernet ports, or have over 40 smart devices.
- Skip It If: You live in a small space (<1,000 sq ft) and already own the Ethernet adapter.
Hardware Evolution: More Than Just a Facelift
When you unbox the Gen 3, the first thing you notice is that the “Cyberpunk sculpture” aesthetic is gone. Starlink has embraced utility over art, and honestly? It’s a massive improvement.
The Design Shift: From Monolith to Slab
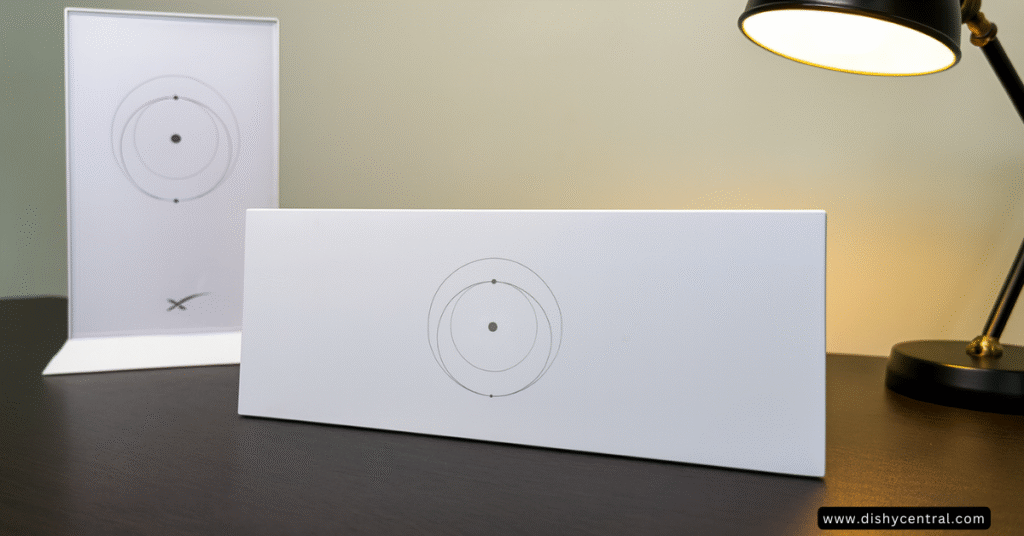
The Gen 2 router (the standing one) was notorious for being “tippy.” If you had stiff cables, the router would fall over. The Gen 3 adopts a flat, horizontal “slab” design. It sits low to the table, making it stable and easy to slide onto a bookshelf.
- Gen 2: 180 x 254 x 65 mm (Tall, unstable, internal antennas focused upwards).
- Gen 3: 43.4 x 298.5 x 120.4 mm (Flat, stable, antennas spread horizontally).
Pro Tip: The Gen 3 includes built-in mounting holes on the back. You no longer need to buy a $30 plastic bracket to hang it on the wall; two screws in the drywall will do the trick.
The Port Crisis Solved
This is the single biggest reason users upgrade. The Gen 3 features two latching Gigabit Ethernet ports hidden behind a protective cover.
On the Gen 2, the proprietary Ethernet adapter was a weak link. It often overheated or wiggled loose, causing network drops. With Gen 3, you plug directly into the router. This is critical for gamers or remote workers who need a hardwired connection for stability.
Status LED Update: The Gen 2 hid its tiny light on the bottom. To check if you had internet, you had to physically pick up the router and look at its “butt.” The Gen 3 puts a prominent LED right on the front face.
- Blinking White: Booting up.
- Solid White: Online and happy.
- Red: No internet (Dish disconnected or obstructed).
- Purple: Bypass mode active.
Performance Deep Dive: Real-World Testing
Specs on a box are one thing; performance through three walls of drywall is another. Here is how the Starlink Router performs when pushed.
Wi-Fi 6 (802.11ax): The Invisible Upgrade
The Gen 2 used Wi-Fi 5. The Gen 3 uses Wi-Fi 6.
Does this make your internet faster? No. Your speed is limited by the satellites overhead.
Does this make your network faster? Yes.
Wi-Fi 6 handles congestion much better. If you have a teenager streaming 4K Netflix, a partner on a Zoom call, and a Nest camera recording the driveway, Wi-Fi 5 starts to “stutter” as it switches between devices. Wi-Fi 6 is like adding more lanes to the highway. In our testing, the “buffer bloat” (lag when the network is busy) was reduced by roughly 30% on the Gen 3 router.
Range and “Tri-Band” Explained
The Gen 3 is a Tri-Band router.
- 2.4 GHz: Long range, slower speed (for smart plugs/bulbs).
- 5 GHz (Low): General use for phones and laptops.
- 5 GHz (High): High-speed data and mesh backhaul.
Most routers in this price range are dual-band. By adding that third radio band, Starlink allows the router to talk to Mesh Nodes without cutting your phone’s speed in half.
The Wall Test:
We placed the router in the living room and walked 40 feet away, putting two insulated walls between us and the router.
- Gen 2 Signal: -72 dBm (Weak, video buffering).
- Gen 3 Signal: -58 dBm (Strong, smooth 4K playback).
Device Handling: The Smart Home Stress Test
If you are building a smart home, the Gen 2 router hits a ceiling quickly. It officially supports around 128 devices, but in practice, we saw instability after 50. The Gen 3 supports up to 235 devices. We connected 60 smart bulbs, 4 cameras, and 10 active devices, and the Gen 3 didn’t flinch.

The “Mesh” Question: Mixing Generations
This is the topic most reviews ignore. If you buy the Gen 3, what do you do with your old router?
Can You Mix Gen 2 and Gen 3?
Yes. This is a massive value add. You do not need to throw away your old Gen 2 router. You can repurpose it as a Wi-Fi Mesh Node to extend coverage to your garage or basement.
How to do it:
- Set up your new Gen 3 router as the “Main” router.
- Plug your Gen 2 router into power (do not plug it into a dish).
- Perform a Factory Reset on the Gen 2 (unplug and replug the power cable 6 times in a row fast).
- Open the Starlink App. After a few minutes, a notification will pop up: “New Mesh Node Detected.”
- Tap “Pair.”
Caveat: Because the Gen 2 is Wi-Fi 5, any device connected to that specific node will be limited to Wi-Fi 5 speeds. But for extending the range to a guest room? It works perfectly.
Starlink Mesh vs. Third Party (Eero/Google/Orbi)
Should you buy Starlink’s Mesh nodes or a 3rd party system?
| Feature | Starlink Gen 3 Mesh | Amazon Eero 6+ |
|---|---|---|
| Setup Difficulty | 1/10 (One tap) | 3/10 (Requires Separate App) |
| Price | Free (if reusing Gen 2 Router) | ~$200 (for 2-pack) |
| Advanced Controls | Very Basic | High (Parental controls, Scheduling) |
| Aesthetics | Matches System | Different Look |
| Best For | Set-it-and-forget-it users | Smart Home Power Users |
Verdict: If you want “set it and forget it,” use Starlink. If you need to block YouTube on your kid’s iPad at 9 PM automatically, buy an Eero or Nest Wifi Pro.
Setup & App: The “Missing Manual”
Starlink’s app is beautiful, but it hides its best features. Here are the settings you need to change immediately on your Gen 3.
1. Split the 2.4GHz and 5GHz Networks
By default, Starlink combines these into one network name. This is convenient, but terrible for smart home devices. Many cheap smart plugs will refuse to connect if they sense a 5GHz signal.
- Go to: Settings > Router > Network.
- Action: Toggle “Split 2.4 / 5 GHz Networks.”
- Result: You will now have “Starlink_Wifi” and “Starlink_Wifi_5G.” Connect your phone and TV to the 5G for speed; connect your printer and smart bulbs to the 2.4G for reliability.
2. Bypass Mode (The Power User Switch)
If you decide to use a powerful third-party gaming router (like an ASUS ROG), you must put the Starlink router into Bypass Mode. If you don’t, you create a “Double NAT” situation, which breaks online gaming and VPNs.
- On Gen 2: You needed the Ethernet adapter.
- On Gen 3: You just plug your router into the LAN port.
- How to Activate: Settings > Router > Bypass Mode > Slide to On.
- Warning: This completely disables the Wi-Fi on the Starlink router. To undo this, you have to factory reset the hardware.
Ruggedness & Power: Off-Grid & RV Reality
For the Vanlife and RV community, the Gen 3 offers distinct advantages and one drawback.
Water Resistance: IP56 Rating
The Gen 3 router is rated IP56.
- Translation: It is protected against dust and powerful water jets (rain).
- Reality: You can install it on a covered patio or in a drafty barn. However, unlike the Dish (which is IP67 waterproof), you cannot submerge the router. Do not leave it in a puddle.
Power Consumption
- Gen 2 Idle Draw: ~20-25 Watts (including dish).
- Gen 3 Idle Draw: ~25-30 Watts (including dish).
The Gen 3 consumes slightly more power because of the Wi-Fi 6 radios. For a house, this is negligible. For a battery-powered van, every watt counts.
The 12V DC Hack:
The Gen 2 used a proprietary power cable that was a nightmare to convert to 12V battery power. The Gen 3 uses a standard barrel jack for power input. This is huge for DIYers. You can now easily find aftermarket 12V-to-57V DC step-up converters that plug right into the router, allowing you to run the system without a power-hungry inverter.
Decision Matrix: Should You Upgrade?
The $199 question. Let’s break it down.
✅ Keep your current Gen 2 Router if:
- You live in a small space: If you are in an apartment or small cabin (<1,500 sq ft), Wi-Fi 6 won’t change your life.
- You already own the Ethernet Adapter: If you’ve already spent the money and it’s working, stick with it.
- You use a 3rd Party Mesh: If your Starlink is already in Bypass mode feeding an Orbi system, the Gen 3 router adds zero value to you.
🚀 Buy the Gen 3 Router if:
- You need Ethernet ports: You haven’t bought the adapter yet? Put that $25 toward the Gen 3 instead.
- You have Dead Zones: If your Wi-Fi drops in the bedroom, the Gen 3’s range and Tri-Band tech will likely fix it without needing a mesh node.
- You are a Gamer/Heavy User: The reduction in latency and jitter on the local network is noticeable during gaming sessions.
- You want to “recycle” your Gen 2: Buying the Gen 3 allows you to use your old router as a range extender, effectively giving you a mesh system for the price of one router.
Frequently Asked Questions
Does the Gen 3 Router work with the Gen 2 (Actuated) Dish?
Yes, but not out of the box. The cables are different. You cannot plug the Gen 2 Dish cable into the Gen 3 router. However, since the Gen 3 router has a standard WAN Ethernet port, you can use the Gen 2 Ethernet Adapter to cable the two routers together, or use a 3rd party conversion kit. Recommendation: If you have a Gen 2 Dish, only get the Gen 3 router if you really know what you are doing with networking.
Why is my light purple?
You put the router in Bypass Mode. It is functioning only as a modem. To get Wi-Fi back, you must factory reset it (push a paperclip into the reset hole on the back).
Can I wall mount it?
Yes. Unlike the Gen 2, the Gen 3 has two standard screw slots on the back. It also comes with a simple paper template in the box to help you drill the holes in the right spot.
Is the cable longer?
The standard cable that comes with the Gen 3 kit is 15 meters (approx 50 ft). Starlink sells a 45-meter (150 ft) version in the shop. Note: Gen 3 cables are different connectors than Gen 2!
Final Thoughts
The Starlink Gen 3 router isn’t just a cosmetic update; it is an apology for the annoyances of the Gen 2. By bringing back standard Ethernet ports and improving the range, Starlink has finally made a stock router that is “good enough” for 90% of users.
If you are setting up a new system, the Gen 3 is a silent hero. If you are upgrading, the ability to repurpose your old Gen 2 router as a mesh node makes the $199 price tag much easier to swallow.
Have you upgraded to the Gen 3? Did you notice a speed difference? Let us know in the comments below!

