
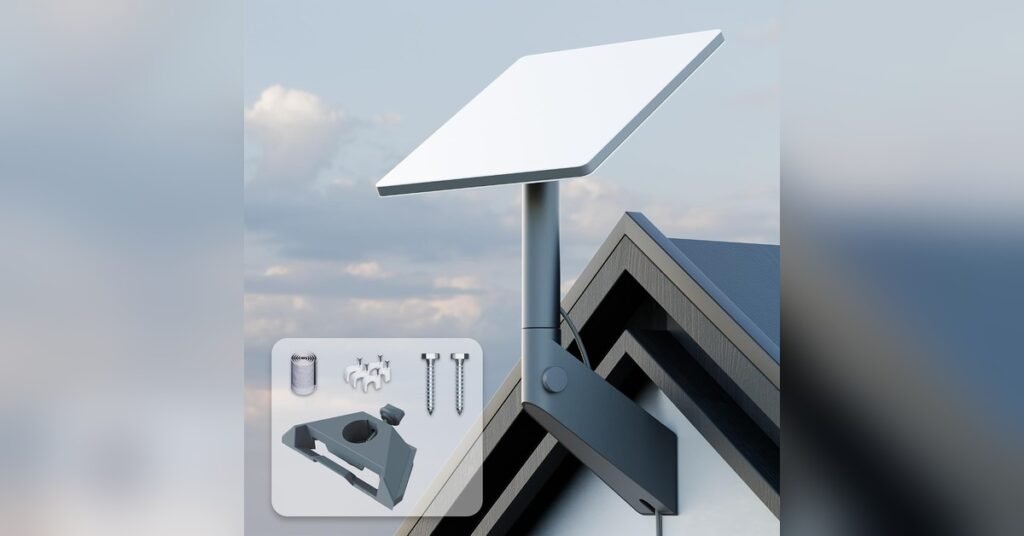
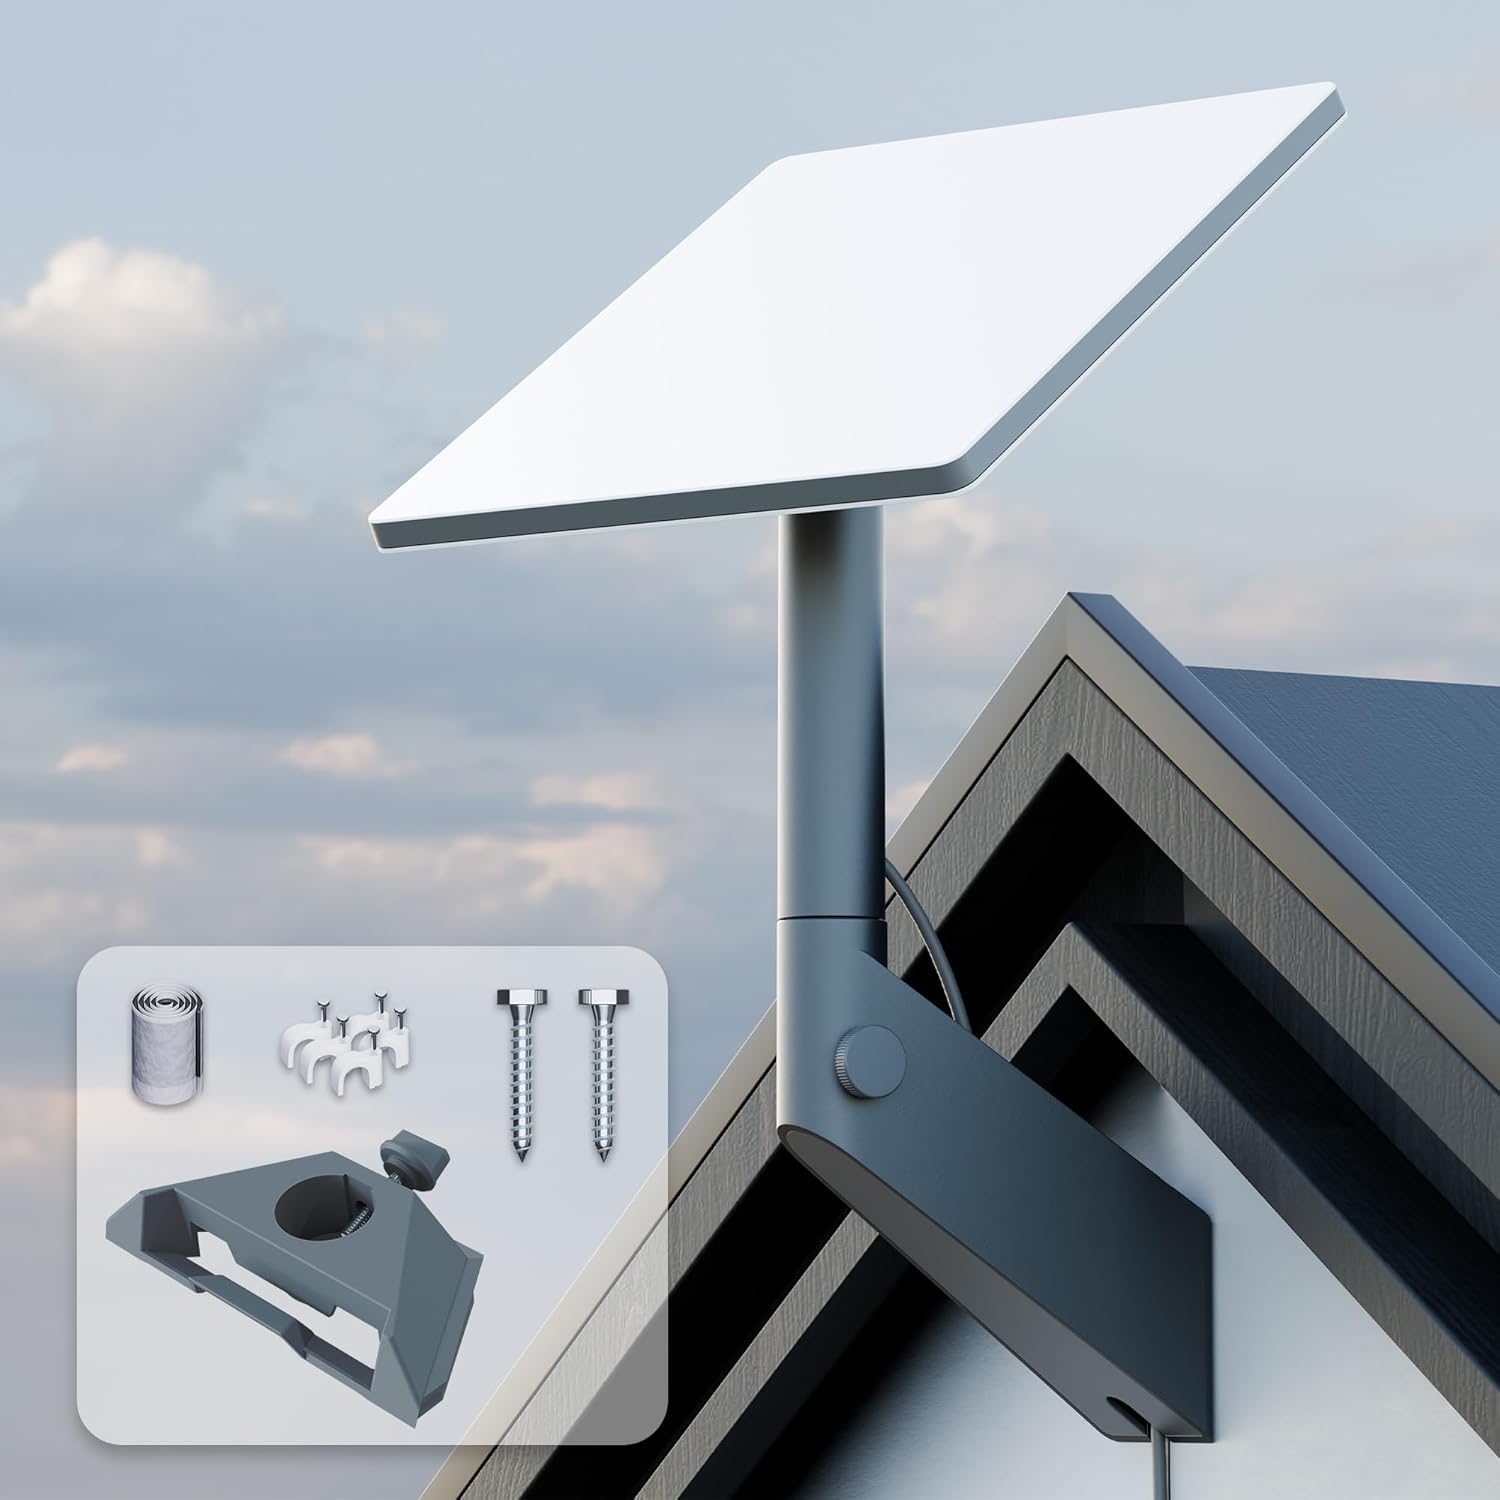
A Starlink Mini wall mount lifts the dish off the ground and fixes it to a wall, fascia board or post, where trees, fences and people are less likely to block its view of the sky. The DAIERTEK Starlink Mini Wall Mount is one of the most popular on Amazon: an angled steel and aluminum bracket with a short pole. The Mini sits on top using its own pipe adapter, and it turns a full 360° to line up with the satellites.
This guide covers what’s in the box, why it’s worth having, how to install it, where to put it, and what to check before you drill.
Key Takeaways
- What it is: a fixed wall bracket for the Starlink Mini, with a 360° rotating pole and a cable channel through the base.
- Popular choice: it carries Amazon’s Choice, is rated 4.6 stars from 129 ratings, and sells 500+ a month.
- In the box: bracket and pole, a pipe adapter piece, 2 screws, sealing tape and cable clips. It works with old and new Mini pipe adapters, per DAIERTEK.
- Bring your own anchors: for brick, concrete or stucco, buy masonry anchors. On siding, screw into a stud or solid backing.
- Mini only: it doesn’t fit the Standard, Performance or Enterprise dishes.
It was $49.99 on Amazon on October 2, 2026. The button shows the current price.
Why Wall-Mount Your Starlink Mini?
The Mini comes with a kickstand for setting it on the ground or a table. That’s fine for travel, but at ground level, trees, fences, cars and people often block part of the sky, and the Mini drops out whenever something gets in the way. Starlink says a permanent mount in an elevated location, like a roof, pole or wall, gives the best installation and service (Starlink Help Center).
- Fewer obstructions: height clears fences, hedges, vehicles and people walking past.
- Always aimed: once it’s lined up, it stays lined up. No more moving the kickstand.
- Safer: off the ground, it’s out of reach of pets, kids, lawn mowers and puddles.
- Neater: the cable runs down the wall in clips instead of across the yard.
For picking the spot, see our Starlink dish placement guide.
DAIERTEK Starlink Mini Wall Mount: What You Get
Specifications (per the Amazon listing) |
|
|---|---|
| Fits | Starlink Mini (old and new pipe adapters) |
| Materials | Steel and aluminum alloy, powder-coated |
| Pole | About 23 cm (9.2 in) tall, 3.8 cm (1.5 in) wide |
| Arm | Angled, about 15.6 cm (6.1 in) long |
| Adjustment | 360° horizontal rotation |
| Mounts on | Walls, fascia, posts; tile, asphalt or flat concrete roofs, per DAIERTEK |
| In the box | Bracket and pole, pipe adapter piece, 2 screws, sealing tape, cable clips |
| Not included | Wall anchors, drill |
Why we like it:
- It’s the crowd favourite. Amazon’s Choice, 4.6 stars from 129 ratings (79% five-star), and 500+ sold a month. Reviewers describe it as heavy-duty and easy to install, and one compares it to Starlink’s own wall mount for the Standard dish.
- Nothing wraps around the dish. The Mini sits on top of the pole by its own pipe adapter, so the bracket stays below the dish rather than framing it.
- The angled arm clears the wall. It holds the pole out from the wall, so the Mini can sit above a gutter, fascia board or roofline instead of tight against the siding.
- Easy to aim. The pole turns 360°, so you can follow the Starlink app’s alignment prompt without moving the bracket.
- Tidy cable. The cable feeds through the base under a lid, and clips are included for the run down the wall.
- Fits where people actually mount a Mini. Reviewers have fixed it to a house wall, a deck post, a beach-house deck railing and a porch railing.
Worth knowing:
- Only 2 screws and no anchors. Into wood, screw into a stud or solid backing. For brick, block, concrete or stucco, buy masonry anchors and the right drill bit.
- The arm is short. At about 6 inches, it won’t clear a deep roof overhang. Check the view from your spot first.
- It’s a fixed mount. For camping and road trips, a tripod or the kickstand is easier; see our Starlink Mini accessories.
- Mini only. The listing confirms it won’t fit Standard, Performance or Enterprise dishes.
- A few unhappy buyers. About 5% of ratings are 1 or 2 stars; we couldn’t read those reviews, as Amazon needs a sign-in for them.
How to Install the Starlink Mini Wall Mount
- Test the spot first. Set the Mini on its kickstand where the mount will go, or as close as you can, and check the Starlink app’s obstruction tool.
- Find solid backing. Use a stud finder on siding, and avoid wiring and pipes. On masonry, use anchors.
- Mark and drill the two holes through the base. If the wall is thin, DAIERTEK suggests sealing tape behind the base.
- Screw the base to the wall and check it’s level.
- Fit the Mini’s pipe adapter onto the top of the pole and tighten its screws.
- Set the direction: turn the pole toward the sky the app shows, then slot the pole into the base.
- Route the cable through the hole in the base, close the lid, and clip the cable down the wall. Leave a drip loop before it enters the building.
- Check the app: confirm the alignment and let the obstruction map fill in over the next day.
Safety: working on a ladder or at the roofline is the risky part. Have someone hold the ladder, and if the spot is high or awkward, hire a handyman rather than risk it.
Getting the Mini’s cable indoors through the wall? See our Starlink cable routing kit guide. New to setup? See how to set up Starlink.
Best Places to Mount a Starlink Mini
- High on a house wall or gable end facing the open sky, above fences and hedges.
- On the fascia under the roof edge, with the pole rising above the gutter line.
- On a deck post or porch railing, the quickest no-ladder option.
- On a shed, garage or cabin when the house itself is shaded by trees.
Whatever you choose, keep it within reach of the Mini’s 15 m (49 ft) DC power cable, away from overhanging branches, and where you can reach it to clear snow or leaves.
Pros and Cons
Who Should Buy It?
- Buy it if your Mini lives at a home, cabin, beach house or workshop, you’re tired of moving the kickstand, or trees and fences block it at ground level.
- Look elsewhere if you need a vehicle or travel mount, or the best spot is on a tall pole. See the best Starlink Mini mounts for other types.
Frequently Asked Questions
Can you wall mount a Starlink Mini?
Yes. A bracket like the DAIERTEK holds the Mini on a short pole using the pipe adapter that comes with the Mini, and screws to a wall, fascia or post.
Does the Starlink Mini come with a wall mount?
No. The Mini kit includes a kickstand and a pipe adapter with a flat mount. A wall bracket is an add-on.
Will this mount fit the Starlink Standard dish?
No. It’s made for the Mini only and doesn’t fit the Standard, Performance or Enterprise dishes.
What screws do I need for a brick wall?
The kit includes two wood screws. For brick, block or concrete, use masonry anchors sized for those screws (or masonry screws) and a masonry drill bit.
Can I mount it on a deck post or railing?
Yes. Several reviewers mounted theirs on a deck post or railing. Screw into solid wood, not thin trim.
Can the mount rotate?
Yes. The pole turns 360°, so you can point the Mini where the Starlink app tells you without moving the bracket.
Is it weatherproof?
DAIERTEK says it uses steel and aluminum with a corrosion-resistant powder coat for outdoor use. One reviewer notes the aluminum tube won’t rust.
How high should I mount a Starlink Mini?
High enough to clear nearby obstructions. Check the Starlink app’s obstruction tool at the planned spot before drilling.
Product details, ratings and price are from the DAIERTEK Amazon listing, checked October 2, 2026; materials and fit are the seller’s claims. We haven’t tested this mount ourselves. As an Amazon Associate we earn from qualifying purchases; see our disclaimer. Not affiliated with SpaceX or Starlink.

